
So in this post I’ll be throwing in my experience and also the answers to questions that have always baffled people over eyebrowdery treatments.

Above is the blade for thick eyebrows and below is the one for thin eyebrows. You can have a say on what you want, although I think it will be better to let Jane assess your brows then make the decision over the blade as this is too technical of a matter for us to meddle in.

And by pen tool, this is what I mean. This is a very thin and tiny blade that I only zoomed into. The pen tool itself is just like any other craft blade pen, but of course it’s cute and pink. What is more noteworthy is that Jane really sanitizes this pen incessantly. And to clarify, per client, she brings out a new blade and cleans the pen’s body via rubbing alcohol.

And to really bury those fears, aside from the fact that Jane will show you the new blade she is installing onto the pen tool, she has boxes full of disposable blades as you can see here.


While waiting for the anesthetic to take effect, we went on with ink selection! What you see are the swatches of the light brown and brown inks. Jane usually uses the brown one for most of her clients. I opted for the midway between the two shades as I couldn’t decide hahaha. Given how pale I am, the brown one may be too dark, but it’s such a pretty color that I really wanted it to be included in the mix.

So here are some of her inks. Going clockwise, there’s black brown, brown, and light brown. I was sooo amazed when I got there that color mixing is actually possible!!! You can really get a custom shade to your liking given all the possibilities you can have with these three shades alone. Jane actually has a total of 8, but I was interested in the browns alone so she showed me these shades. With 8 shades and the possibility of mixing 2-3 shades as needed, that effectively makes about 512 shade combinations if you will use 3 shades and 64 if you will use two shades. My main fear of getting inked with a shade too dark was dispelled when I got to see all the shades and all the combinations I could make with them. And when I saw that the inks aren’t too dark, this also helped banish my worries.

Jane used a caliper to be able to map out the key points n my brows and mark them as such. She then proceeded to trace the outline that she will be following when doing the eyebrowdery on me. Her general premise is to make the outline relatively thin compared to the usual brow look the client has and to not make the eyebrow too wide nor the arch too high. Her general business belief is that it’s better to just add more during the included retouch session rather than do too much on the primary job that it will be so hard to get rid of the eyebrowdery come retouch time. Now that the job is done, I feel relieved that I only feel that the arch is not high enough because it is much easier to add arch height rather than to reduce it.
This is also the approval stage for the client, as the outline will be the general framework for the overall brow job. This is the most important part in the process because I highly feel that the most important aspect in any brow business is the willingness to listen to clients’ concerns. I have heard of people who were never consulted after sketching and just had their brows drawn in without them approving it, and that is the scariest thing ever. Jane really does whip out a mirror for the clients to see the preliminary sketch and be able to make comments and revisions over the sketch. It is important to voice out your concerns at this stage as it will crucially affect the output you will get.

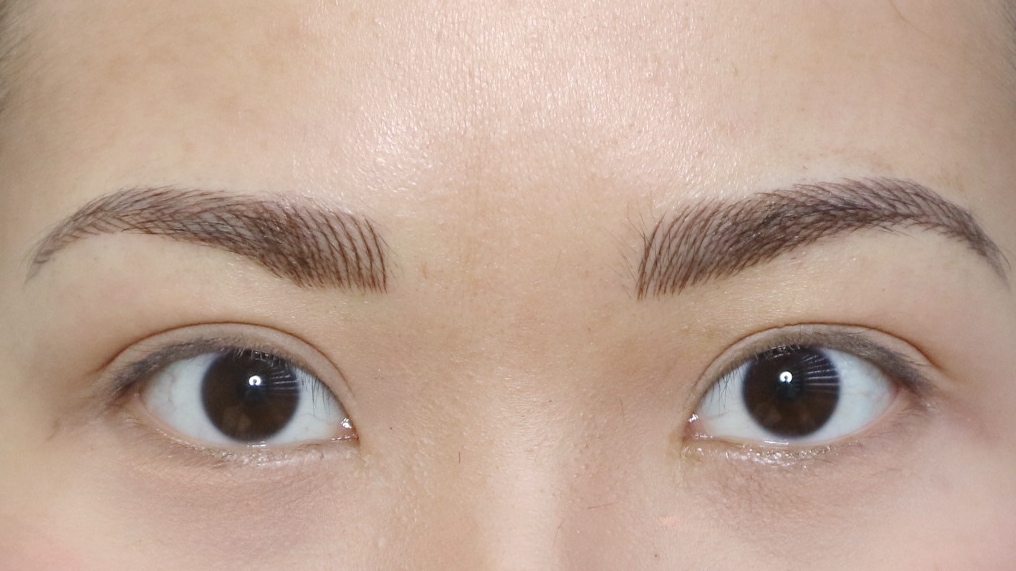
And finally, this is how it looks like! After the eyebrowdery was done on me, we waited a 15 minute period to let the ink sit and seep into what it needs to seep into. This is after the excess ink was wiped off with a moistened sheet of tissue. As you can see, this is sooo different from the Pentel pen kinds of tattoos we have seen with our aunts. Up close you can see that instead of one solid mark, the brow is drawn in via many small lines that emulate the appearance of brow hairs. The ones you see that still look like marker lines are not eyebrowdery but most likely eyebrow tattoos, or possibly a treatment using vegetable pigment inks but not using this kind of method per se.

And unlike the scary super dark eyebrows you’ve seen with other people, since this procedure involves making many small lines, the output already looks natural even fresh out of the procedure. There is no downtime per se as you look presentable the moment you get it done, and there is no swelling or reddening whatsoever so you literally can go about your stuff. You just need to account for the aftercare and to make arrangements to not get your brows wet for a few days. But aside from that, you already will walk out with the actual result.
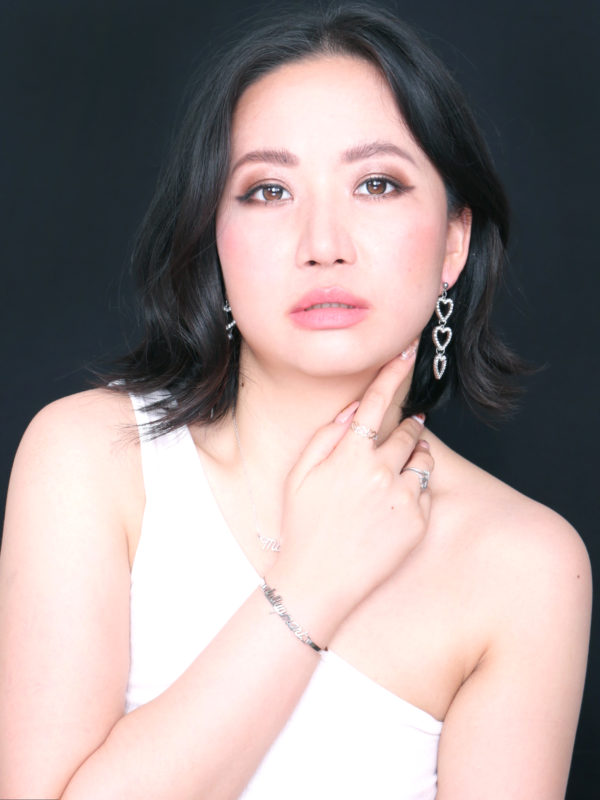

Excited for the coming days to see the final result Ms. Mari 🙂
abangan ang susunod na kabanata!
As usual, wacky ka na naman sa videos mo haha! Kahit "No effort" ka na para magkilay, ready to GO na! Ang ganda ng pagkakagawa, hindi makapal at hindi din manipis. Yung shade niya ay hindi dark, as in sakto lang! Ang galing!